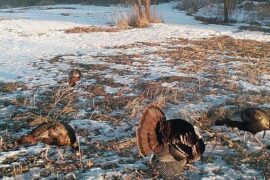
How to Make Your Own Turkey Reaping Decoy
Turkey reaping, or stalking, is becoming more and more popular as birds become wise to our calling techniques. Although reaping a turkey can be highly effective, it shouldn’t be your first option when trying to kill a turkey. This method is more of a “well everything else we have tried isn’t working, so let’s go stalk one.” Imitating a strutting gobbler is dangerous and should only be attempted on private land when you are the only one with permission to hunt there. Even if you are the only one with permission, you should never attempt to reap a turkey within view of a public road. If you have never reaped a turkey before, it can be an exhilarating experience. You basically hide behind a decoy and crawl toward a tom. It sounds easy until you look at the size of a strutting tom. You can’t just walk normal toward your target, you need to stay low and below the profile of the turkey. You can use a simple turkey fan, but that doesn’t give you much space to crawl behind.
Here I will explain how I used simple tools to create a cost efficient, yet deadly reaping decoy.
The most important part of this decoy is also the hardest to obtain: you need a REAL turkey fan. That means you have to shoot a gobbler first. Its tail must be preserved so that you can fit the tail in the clip of a clipboard. Here is a quick video I found on YouTube on how to make your own turkey fan.
Once you have your turkey fan, the next step is to obtain these items:
- A clipboard
- A saw
- Foam board
- A realistic 13”x17” strutting tom picture
- Two 1/4” wooden dowels
- Gorilla glue/X-treme Elmer’s glue
- Brown spray paint
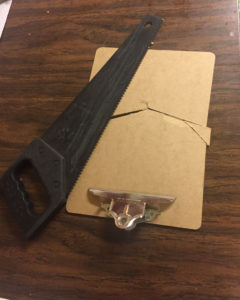
First step is to cut the top off the clip board. The clipboard will be used to hold the fan in place, and we do not need the entire top for this to work. Cutting also lowers the overall weight of the decoy and prevents you from having to paint what would be exposed if you left the clipboard intact.
Next step is to obtain a large picture of a strutting tom. I simply went to my local graphics store and asked for a 13” by 17” high quality picture of a strutting tom. Here is what it looked like after I cut out the basic form of the decoy:
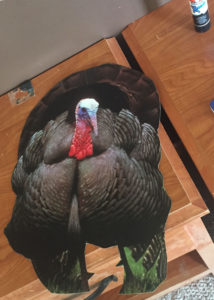
I made sure to line up the tail with the picture to see how much of the tail I needed to cut off the picture.
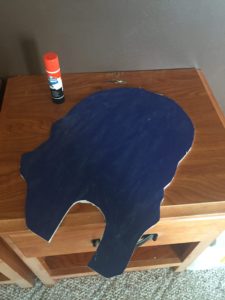
Next I glued the picture to a foam board that I cut to the shape of the decoy.
I then attached the fan to the clipboard with the back of the tail facing the clip.
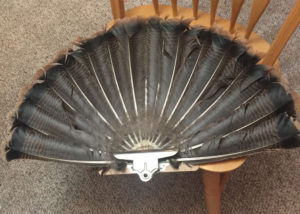
Here is what it looks like from the front:
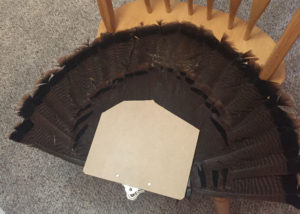
Next I lined up the foam board with the clipboard so that it looked like a strutting tom, then I marked the position of the clipboard on the foam and I removed the tail which made it easier to glue the foam board to the clipboard:
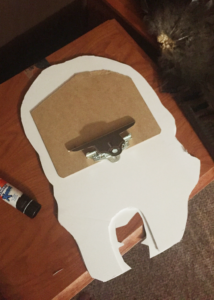
I used Elmer’s X-treme glue for the junction between the foam and the clipboard, but any all-purpose glue should work here.
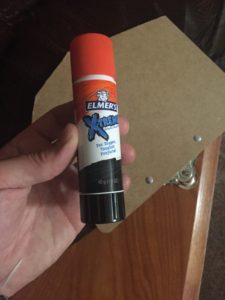
After the foam board dried to the clipboard, I added the dowels to the clipboard so I had a stake to put in the ground.
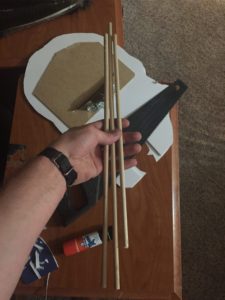
I was able to fit three ¼ inch wooden dowels cut to the height I wanted the decoy when stuck in the ground (about 16 inches for me) under the metal bar that is attached to the spring of the clipboard, and I used Gorilla glue to keep these in place.
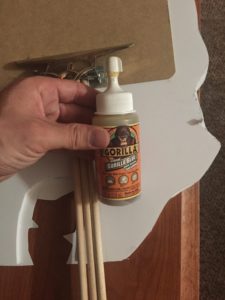
When the dowels were in place, they were sticking up about a ½ inch from the foam board.
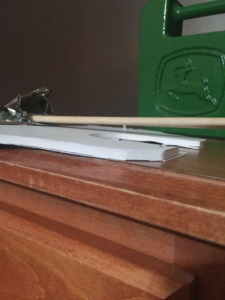
I added gorilla glue then placed a weight on the dowels so they would remain attached to the foam board during the drying process. Gorilla glue expands so use enough to coat each surface you are trying to bond and do not add any more. You could also use a clamp if you have one.
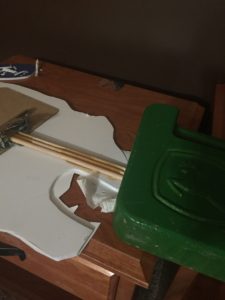
Once all the gorilla glue dried, I simply spray painted the back side of the decoy to eliminate the shine from the clipboard and the white foam board.
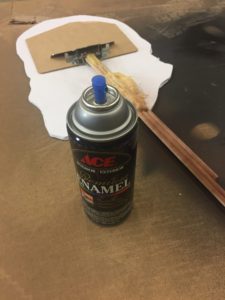
Here is a close up view of the back of the clipboard when the fan is attached.
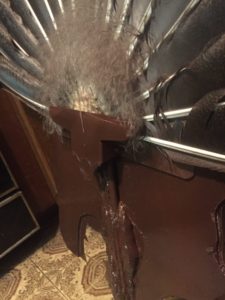
Here is what it looks like from the front after being pushed into the ground. Notice I added to small holes to the tail so that I could look through it while stalking. If I could do it again I would place these about an inch or so lower than where they are.
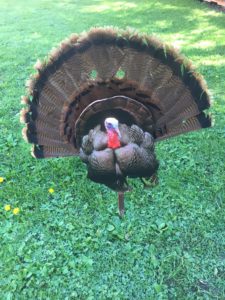
Make sure to keep the front facing the turkey you are stalking, because this decoy is only 2D you will spook a bird if he sees the side of it.
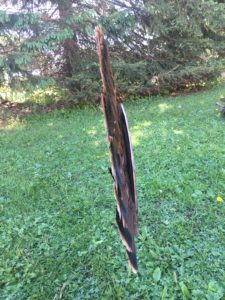
Here is the result of using this decoy properly.
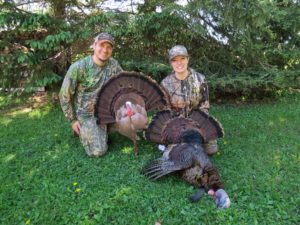
This late season tom was extremely cautious. He slowly entered the field we were in, but never came within 90 yards of our decoys. He was missing the top center of his tail and it looked like someone had shot it off, so the only way we would kill this bird, was to go to him. My wife had the decoy in the blind, so as soon as she stepped out she was covered up by the silhouette of the decoy. She used the cover of a grass waterway in the field to help hide her outline, and stalked 250 yards to within 40 yards of this wise old bird. She found it easiest to crawl on her knees rather than crouching. She also made sure not to put her gun barrel into the ground when she moved. As soon as she got into his comfort zone, he began to approach her to show the “intruder” who was boss. When he got to within 25 yards he was welcomed with a face full of number 5 shot. It was an amazing hunt that I will never forget, and for about $15 worth of material I have a reaping decoy that we can use for our “last ditch effort” for many years to come!
– Tim Neuman, Wildlife Biologist
Your Cart
Categories
- Attractants 26
- CWD 1
- Deer Management 63
- EHD 3
- Food Plots 19
- Hunting 85
- Land Management 19
- Minerals 29
- Shed Hunting 4
- Supplements 37
- Turkey Hunting 7
Browse Tags
Products
-
 Whiteout Frenzy
$103.90
 -
-
 CRUSH Road Block
$29.99
 -
-
 Mineral Dirt 180 - 20lb
$34.99
 -
-
 CRUSH Pro Bean Blend
$139.99
 -
